Friday, February 3

How to Make Chocolate Eclairs

Hi guys! Yes I am back with chocolate after my savory experiment with the quiche. But obviously chocolate is love. I'm going to post about these chocolate eclairs that I made. making Eclairs is a step by step process and has many elements. None of these is difficult to make and neither very time taking.


The one thing that elevates an eclair is the decoration and plating. The choux pastry is simple enough to make, the filling is whipped cream and the glaze is also quite easy to prepare. Once the choux pastry dough is made, use a wet pastry bag to pipe out the eclairs. Being wet, the dough will not stick to the bag. You can also use a spoon but a piping bag would be neater. On baking, the eclairs will rise and fill with steam. Once baked, you need to take out the eclairs and pierce them otherwise they would sink.


After the eclairs are cooled, use a piping bag to fill the eclairs. I hold the eclairs vertically and fill them up from the side. This is a very neat method but makes it difficult to know if the eclairs is filled. You will feel the weight of the cream in the eclairs but its only by experience that you realize that. For an easier method, and if you do not have a piping bag, you can slice the eclairs from the side and fill them with a spoon. A third method is to make 2-3 holes on the top of the eclairs and fill them up from there. This will give the best results, however, only do this if you are going with a thick glaze.


Once filled, it is not time to decorate. Do not prepare the glaze in advance as it will harden. Once your eclairs are filled, make the glaze. Use a double boiler because its easier to get right than in a microwave. It might take more time, but the results are worth it. The glaze requires light corn syrup that might not be that readily available in every city so you can order online. A little goes a long way.


Once my glaze was prepared, I dipped my eclairs in it and then topped with some choco chips and white chocolate shards. To prepare the shards, just melt the chocolate and brush on on baking paper or acetate sheet. Brush in a thin layer and wait for it to harden. If you are short on time or its very hot or humid, you can put it in the freezer also. Once dry just start pulling it off the sheet and it would break into shards itself. The cooking chocolate that I use is pre-tempered, however, if yours is not, you need to temper the chocolate for the shiny result.


I just randomly decorated a few with just choco chips, a few with just the white chocolate and some with both. If the glaze is hardened already, just use some whipped or melted chocolate to stick your decorations on. 

For the easiest decoration technique, all you need is some castor sugar. You could sprinkle it on top the eclairs directly or even use stencils and make designs from the sugar. Depending on your creativity, you can use whatever you like, in whichever way you like. This is why I like decorating, because you can easily make it your own.


So without any further ado, here is the recipe-

Time taken: 1 hour (including baking time)

Makes 8

Ingredients:

Choux pastry

1/4 cup Unsalted Butter
2/3 cup Water
1/8 tbsp Salt
2/3 cup Flour
2 large Eggs

Cream

1/2 cup Whipping Cream
1 tbsp Vanilla Essence
Castor Sugar, as needed

Chocolate Glaze

3/4 cup Dark Cooking Chocolate
3 tbsp Unsalted Butter
1 tbsp Light Corn Syrup
1/4 tsp Vanilla Extract


Method:

Choux pastry

  1. Preheat oven to 180C.
  2. In a saucepan, add butter, water and salt. Bring to a boil and immediately remove from heat. 
  3. Add flour and beat till the mixture leaves the sides of the pan.
  4. Once cool enough to touch, add the eggs slowly and mix using an electric mixer till light and fluffy.
  5. Rinse an icing bag with water and fill with the dough.
  6. On an ungreased baking tray or butter paper, pipe out lines of desired length and thickness. keep in mind that it would rise on baking.
  7. Using water make the ends of the eclairs neat. The water makes sure the dough does not stick to your hand.
  8. Bake for 30-40 minutes, till they stop making a faint sizzling sound.
  9. Remove from oven and pierce on the side to let the steam out. If not pierced, they would sink. 

Cream

  1. Take the whipping cream in a chilled bowl, and whip till soft peaks.
  2. Now add vanilla extract and sugar, if required. You can also add rum at this step.
  3. Now beat again till stiff peaks form and the cream is light and fluffy.
  4. Pour the cream in an icing bag and holding them vertically fill the now cool eclairs from the side you pierced earlier.
  5.  Try to feel the weight of the eclairs to determine if they are filled properly.

Chocolate glaze

  1. In a double boiler, combine chocolate, butter and corn syrup. Stir till melted into a smooth mixture.
  2. Then, add vanilla and stir.

Assembly

  1. Dip the top of the filled eclairs in the mixture, removing in an arc motion.
  2. Be careful since the hot mixture can burn your skin.
  3. Set down the glazed ecalirs to harden. (about 2-3 minutes)
  4. Garnish as desired. (chocochips, white chocolate, sprinkles, ganache, raspberry coulie, icing sugar are some options) 
  5. Serve.

Tuesday, January 31

Whats in my makeup bag?/ Daily Essentials!

Hi guys! So today I wanted to do a makeup related post. I thought it would be interesting to do a daily makeup essentials or whats in my makeup bag post as I personally really enjoy these. Maybe because I'm a really nosy person. So, I have something in all the categories and some options for you as well. Lets get into it!


My makeup essentials

Makeup bag


My makeup bag

So my makeup bag is this super cute polka dot "I NEED MASCARA" bag from Westside. I actually saw this bag in someone's haul and loved it! So when I saw this in store, I had to pick it up!

Face-

Face makeup products

Base-

My daily choice for my base is Lakme CC cream in shade Beige. I have oily skin and this works great for me. However, if you would like a higher coverage I also really like Maybelline Matte and Poreless Foundation too.

close up of face products

Powder/Compact-

For my compact I use Maybelline White Super Fresh Compact in shade Pearl. It has decent coverage, mattifies your makeup, sets it and also it very affordable. Overall, a great deal!

lakme blush


Blush-

For blush I have chosen is my Lakme 9to5 Pure Rouge Blusher in shade Rose Crush. It is a matte blush with a brownish tone so it can be used as a bronzer also. The brush provided with the blush is not good at all so I just use another.

Setting Spray/Primer-

The ELF Makeup Mist and Set is a very calming spray. It works really well to prime and set makeup and also to freshen your face during the day. Its a great way to calm your face and not mess up your makeup. So its one of the most important things to keep in your makeup bag. 

Eyes-

eye makeup products

Mascara-

I have put in two Mascaras to give a colour option too. My black mascara is Colorbar Zoom and Whoosh Mascara. It has too wands, one for lengthening and one for volumising. I really love Colorbar mascaras and I also love that it has wands for two different results. Makes it very multipurpose. The other mascara is my Hard Candy Ginormous Lash Volumising Mascara in Electric Blue. I also have this in Purple Haze, which is also great but I chose blue as Lakme and Nyx have launched blue mascaras in India so its easily available here too! I like the mascara as its lengthening and volumising and the blue really makes your eyes pop. The wand is also great for applying mascara on the lower lashes.


freedom brow kit

Brows-

I use my Freedom Pro Eyebrow Kit for my brows in shade Light/Medium. The great thing about the kit is that it has two brow shades, one highlighter shade for under the brow and a brow wax. It also comes with a huge mirror, a plucker and a dual ended eyebrow brush. I use the lighter brow shade for the front of my brows and darker for the tail. Then I go over my brow with the wax and highlighter underneath for a lift.

close up of all eye products


Liner/Kajal-

For my liner I have chosen the Maybelline Eye Studio Lasting Drama Gel Liner as I really love the formula and the staying power. Gel liners are my favourite as I find using a brush to apply my liner the easiest. The gel consistency dries quicker than liquid so it is convenient to apply in a hurry.
Both my choices for kajal are somewhat different as one is in brown and other in white. I like brown as it gives the definition of the kajal without the harshness and the white as it makes you look fresher and awake as well as can be used as a highlighter for brows and inner corners of the eye. The kajals I use are the Chambor Ultra Glide Eyeliner Pencil in shade Earthy Brown and Lakme Eyeconic Kajal in shade White. Seriously if you have not tried a brown or white kajal, give it a try! You would be amazed at the difference!

Lips-

lipsticks

For my lipstick I have kept a nude lip and two bright ones. The reason I have kept two bright ones that one cannot match all makeup looks and outfits. I keep switching out the lipstick shades because I love to have fun with my lip shades. The nude shade is a Sugar Matte as Hell Crayon Lipstick in shade Holly Golightly. I got this with my fabbag and I love it. The shade is a perfect my lip but better nude and very matte. The formula of all Sugar Lipsticks is amazing and that is why this is my go to nude. My bold lips include Sephora Rouge Creme Lipstick in shade Say My Name that I got in my recent Sephora Haul and the other is Colorbar Velvet Matte Lipstick in shade Obessed Orange. Do you see yet that I love matte? Both these shades are lovely and can elevate any look. The sephora lipper is hot pink while the Colorbar is a very bright orange. For some people this might be too bright but I love these. Sometimes I add a red lipstick or a gloss to my bag. During the December months I was using my Miss Claire Matte Soft Lip Creams and my Maybelline Moisture Extreme Lipstick in Earthy Taupe.

   I'm not a huge eyeshadow person. I only wear shadows on special occasions so I have not included any in this list because its not a daily product.

I hope you enjoyed this post. Keep tuned of more. Thanks for reading and lots of love! 😘😘😘


Saturday, January 28

H&M Sale Haul 2017

Hi guys! So for today's post I'm going to be showing you my recent haul from the crazy sale at H&M. If you've seen by blog before you would probably know that I recently went to Delhi/Gurgaon. While there, I went to Vasant Kunj to check out the malls and ended up shopping at H&M. They had this insane sale going on so obviously, I had to shop(even though I just had just shopped from koovs).  I spend money even when I have no money. I think I have a problem.

So this was my first time at H&M and it might be a little difficult to believe but its true. Since my city does not have H&M, and I believe in instant gratification, I generally shop online or one of the stores that I do have here. I loved the collection as it was really on trend and they had everything I had on my wishlist since so long.

And then, a couple of days later, I went there again! But this time at their store in Ambience Mall, Gurgaon. So here's all that I picked up.

h&m shopping bag


h&m floral playsuit
Playsuit-
Original Price: 
Rs. 1299
Discounted Price: Rs. 150

h&m lace midi dress
Lace Midi Dress-
Original Price: Rs. 3000
Discounted Price: Rs. 1500

h&m floral shorts
Floral Shorts-
Original Price: Rs. 799
Discounted Price: Rs. 350

h&m black skirt
Black Skirt-
Original Price; Rs. 699
Discounted Price: Rs. 250

h&m black lace up bodysuit

Neck lace up details

Button closure at the crotch
Black Lace Up Detail Bodysuit-
Original Price: Rs. 799
Discounted Price: Rs. 350

h&m printed playsuit
Playsuit-
Original Price: Rs. 1299
Discounted Price: Rs. 150
h&m accessories
Hair ties-
Original Price: Rs. 249
Discounted Price: Not on Sale

Underwear (set of three)-
Original Price: Rs. 799
Discounted Price: Rs. 250

Well, I don't like hauls without a try-on, because you can't really get the clothes unless you see someone wearing it, so here is the try-on!
h&m playsuit front

h&m playsuit back designh&m playsuit front

Both the playsuits are quite similar, actually only differing in print. They have an interesting criss cross detail on the back and also have pockets. The waist is elasticated to give a great fit while still be super comfortable. I love playsuits for a casual day out with the girls or even just for staying in and lounging around. They look really chic but give the comfort of wearing pajamas. 
h&m black lace up bodysuit with floral shorts

The bodysuit is one of my favourite things to wear as it is super practical and gives a very clean, tucked in look. This black one is very simple and minimalist but still super trendy due to the lace up details at the neck line. The floral shorts are super comfortable and casual. I have been loving high waisted shorts as i feel they are super flattering and give that hourglass shape. The print is not the kind I usually go for but on these it works well. The material is quite nice, making it appropriate to wear out also. Again, these are perfect for a casual chic look such as a Sunday brunch with the girls. 

wearing h&m black skirt and goofing around

I paired the black skirt with a grey crop top from Westside, the fit of the skirt was quite formal so this crop top just made the look more casual. My sister crashed the shoot and this is the picture I ended up with. 😂
I know its not the best thing to put up on your blog if you're wanting to be taken seriously but well I had to feature my sister! And well, I am weird in real life.

h&m black lace midi dress`h&m lace midi dressh&m lace midi dress

Following up that crazy picture with a formal look, I have paired this really pretty lace dress with my wedges from Hype, going for a very streamlined black look. Rather than adding a pop of colour with my heels, this time I went for black on black for a chic, cocktail party look. I love that the dress is midi length but the slip ends above the knee, giving it a sheer lace panel at the bottom.

I hope you enjoyed my haul, thank you for reading and lots of love! 😘😘😘


Wednesday, January 25

How to Make Quiche From Scratch plus Tips!

Hi guys!  So today I decided to share with you this easy quiche recipe from scratch! Yes, no store bought crust, or store bought quiche and still easy! Don't believe me? Read on! 

My younger sister loves the quiche I make, so after her asking me various times, I decided to finally make one for her! Also that meant I could take a break from all the chocolate related recipes I was doing on my blog like the shake and the brownies from theobrama!
So on Sunday, I woke up and went into the kitchen to create my dough. Now the dough needs to sit in the fridge for at least 3-4 hours but preferably overnight so it was the first thing I made. To make a quiche or pie crust, you basically require fat, flour and water. My choice of fat was butter, flour was all purpose flour and well water was water! (Pro tip: use ice water for best results, the colder the water, the better your dough) 

So I basically took cubes of butter and added it to my flour. I used salted butter but if you are using unsalted butter, do add some salt to the flour. The butter should be cold enough to hold its shape and not be melted but not absolutely frozen. While kneading the dough, we need to make it resemble breadcrumbs and not just bind it together. Once the breadcrumb texture is achieved, add the cold water, one tablespoon at a time and start binding the dough together. Try to add as little water as possible as the dough should be just bound enough with still some dry bits. This is essential as with time the butter will also add moisture and if we don't keep our dough dry it will become too wet and be essentially useless. Once your dough is ready, wrap in cling film and into the fridge.

After 3-4 hours or overnight take the dough out and start rolling it with a pin. Once rolled, fold it into half and roll again.(Pro tip: The more you fold and roll, the more flaky the crust will be)
Now as I said made the dough in the morning but then I got busy shooting for my haul post (do check it out too!) (yes I know this is blatant self promotion) (#noshame) so I got to rolling out the quiche only that night. As its winters these days (and really cold where I live, might I add) and the dough had been in the fridge for the entire day, it was a little difficult to roll at first. So I used my hands to initially warm the dough up a bit and then rolled it out using the rolling pin. While rolling out make sure you roll it enough to 
  • Fit the base of your pie plate
  •  Be enough to cover the sides as well
  • Still be some left hanging over the edges to account for any shrinkage


Once that was done, I put the crust into the oven to blind bake for about 10 minutes or till stiff. Blind baking involves putting a piece of butter paper over your pie crust and adding some grains or rice to act as weights to make sure the base of your crust doesn't rise. Another thing to do is use a fork to make holes in the base allowing air to escape and again preventing the rise. Once it was stiff I took out the butter paper and weight and let it bake for about another 10 minutes. (Pro tip: Take care that when you pick up your pie mould, it is not from the bottom as most of them have removable bases and when you hold from below, the base pops up and your rolled out pie dough is ruined)

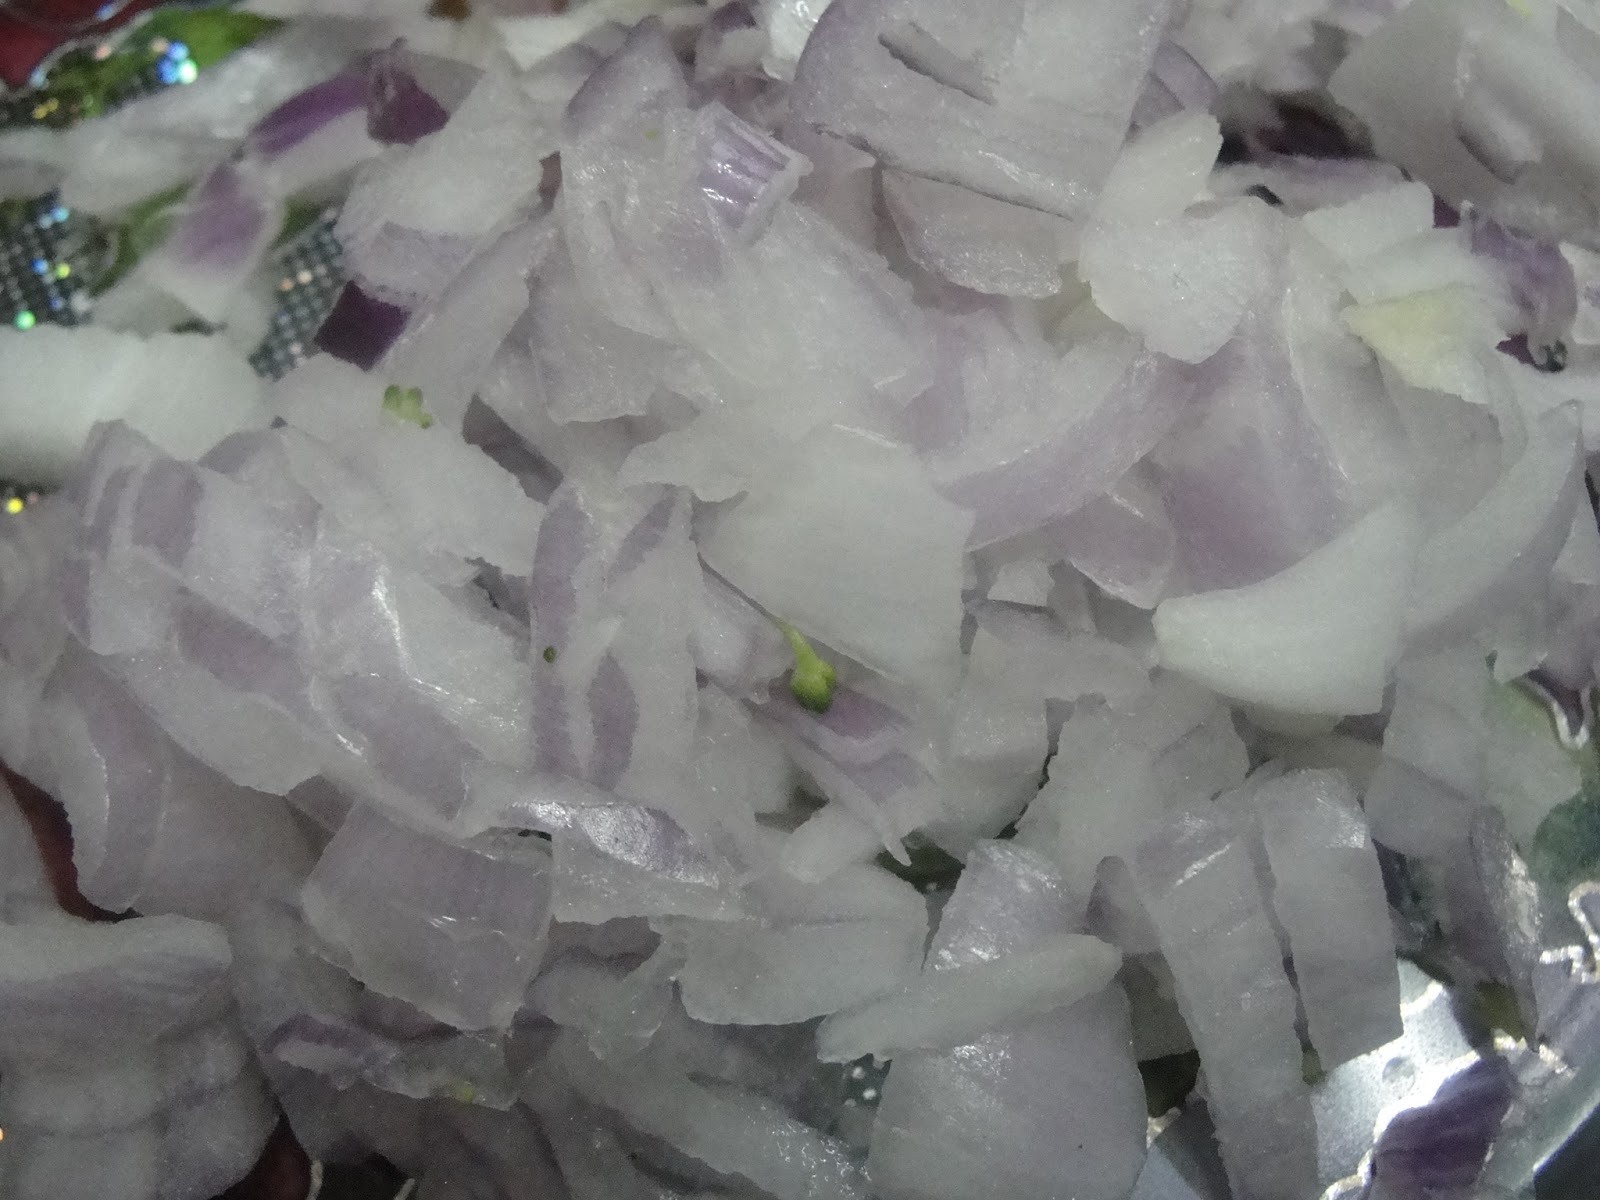
While the base baked I grated my cheese ( A mixture of Parmesan and mozzarella) and chopped up my veggies (I used broccoli, onions, green bell peppers, corn and mushrooms). Pro tip: The choice of cheese and vegetables and meat (I added none) is completely onto you.  Make your own combinations, use whatever is leftover, sky is the limit. Once chopped, I used about 2 cups of total vegetables and cooked them slightly in one tablespoon of heated olive oil. I only cooked them for about 4-5 minutes because I like my vegetables fresh and crisp and a little bit on the raw side plus they would be cooked again.

By this time, the crust was done so I just took it out of the oven to cool and made a mixture of beaten eggs, milk, salt, pepper, dried thyme and dried oregano.

Now once the crust was cool enough I added about a cup of cheese to the base topped with the vegetables, then the egg mixture and finally the rest of the cheese. If you have any fresh herbs on hand like oregano, rosemary or thyme add them on top with the cheese. Now the quiche is ready to go into the oven for 35-40 minutes to get baked. (Pro tip: Cook time might vary depending on size, filling and how pre-baked the crust is so keep a keen eye)
Once the sides and the cheese were browned and the base also crisp (check by inserting a fork) I took it out of the oven. Giving it about 10 minutes to cool slightly I used a knife to loosen the sides and then popped the base up and transferred the quiche to a plate. At this point, use can plate up beautifully using some cream, sauces and herbs or just slice up and serve.

A concise form of the recipe follows the pictures but do read the above for some tips and insights.


Recipe

Time taken (excluding the resting time taken by dough)

Prep- 40 minutes

Cook- 1 hour

Ingredients-

Crust:

  • 1 1/4 cup all purpose flour
  • 1/2 cup salted butter, cold and in cubes
  • 1/4 cup ice cold water

Filling:

  • 1 tablespoon olive oil
  • 1/2 cup broccoli 
  • 1/2 cup corn
  • 1/2 cup mushrooms
  • 1/4 cup onions
  • 1/4 cup green bell peppers
  • 3 eggs, beaten
  • 1/2 cup milk
  • 1/2 teaspoon salt
  • 1/2 teaspoon pepper
  • 2 teaspoon dried oregano
  • 1 teaspoon dried thyme
  • 1 1/2 cup grated cheese
  • Fresh herbs for garnish

Method-

  • Knead together the butter cubes and flour till they resemble breadcrumbs
  • Slowly add water by spoonfuls and Knead till the dough is formed
  • Wrap and in clingfilm and put in fridge for atleast 3-4 hours but preferably overnight 
  • Preheat oven to 200 degree Celsius
  • Once cooled, roll out the dough to fit a 9-inch pie mould
  • Put the rolled out dough in the mould and add butter paper and weight (such as rice or grains) to blind bake the crust for 8-10 minutes
  • Now remove the weight and paper and bake till firm (about 10 minutes)
  • Remove from oven to cool and reduce the oven temperature to 180 degree Celsius
  • Chop up all the vegetables and saute in olive oil 
  • Whisk together the eggs, milk, salt, pepper, thyme and oregano
  • Put one cup of cheese on the quiche crust
  • Top with salted vegetables and followed by the egg mixture 
  • Now add the remaining cheese and the herbs to garnish
  • Bake in preheated oven for 35-40 minutes or till the crust and cheese are golden brown 
  • Remove from oven and let cool for 10 minutes before removing from the mould
  • Slice and enjoy!