Showing posts with label how to. Show all posts

Wednesday, February 8

My Night Time Routine

I'm not a skincare girl. I like makeup much more. Like much much more. And yes, I understand good skin is important for good makeup but I still don't like it. People have elaborate routines for night and day and midday and for summer for winter for autumn for spring and what not but this night time routine is all I do, except for the occasional face pack. This has worked pretty well for my oily to combination skin and obviously skincare is person specific, so keep that in mind for this post. Anyways, lets get into it!


Step One:

The first and the most important step is to remove your makeup. The worst thing you can do for your skin is sleep with makeup on. So even if you're too lazy to do a whole night routine, just remove your makeup before going to bed.

lancome bi-facil makeup removerkara makeup removing wipes


 For this, I feel makeup wipes are the best since they're quick and easy for that lazy girl in you. However, if you wear waterproof makeup (like I do, my eyes water alot) then you need an oil based or bi-facil remover. The one that I use is Lancome one which is great.  Though for a budget option, Biotique has a great almond oil based remover. My makeup wipes are from Kara and they're amazing too.

Step Two:

Once you have removed your makeup its time to cleanse and scrub. So I wash my face every night with a face wash and not when you wake up (well I technically do but only with water until my bath). This keeps your skin looking young and supple as your skin replenishes its natural oils during the night and when we use a wash or a soap *cringing* in the morning, it wipes all that off aging our skin prematurely. At night, our skin has the dirt and grime of the entire day so washing it then makes sense, doesn't it? 
If you're a morning washer, switching up your routine might lead to breakouts initially but in about a week it'll be alright. Within a month, you'll see a difference, I promise!  
As for the scrub, I use it 2-3 times a week. Face scrubs can be harsh on  your skin, specially young skin so understand your skin type and needs. Some people can get by scrubing 7 days a week but some, such as those with really sensitive skin, might have problems with just once twice a week too. 

Himalaya Neem Face Wash and Scrub
I use the Himalaya Neem Face Wash and Scrub because its the only one that suited my skin. Neem is really good for the skin and Himalaya is all natural! I like to use things in sets, so like my face wash, scrub and pack are all of Himalaya Neem range, my shampoo and conditioner would be the same variant of the same brand and so on. I always keep these in stock, since I can't afford to skip my routine even once in a while.

Step 3:

Well, technically I brush before I wash my face but it felt weird to write this post in that order. So.. Anyway, the next thing to do is brush. But, it doesn't end there. After brushing, using a tongue cleaner and floss are essential steps that most of us miss. Maybe, that's why I missed adding a picture of these. So, from today we will stop ignoring these! For my floss, I use the Colgate Waxed Dental Floss. Since, this is the only one I have used and only recently started using it, I can't really say how well it works. To me, it feels okay but then, what do I know? 
Closeup diamond attraction toothpaste

My toothbrush is the Colgate Charcoal Toothbrush and my Toothpaste is the Close Up Whitening Toothpaste. I use a whitening toothpaste because Indian food can really stain your teeth. The toothpaste is half blue, half silver which is quite interesting. I have seen  a difference but its quite temporary. Again brushing your teeth at night is the most important time since gong to sleep with the entire day's worth of food stuck in your teeth is just asking for cavities.

Step 4:

 So after all of this is done, I sit in bed and do the final step of my skincare. Now, I probably should use a moisturizer or a serum or toner or something on my face but I'm yet to find one that suits my skin. Everything that I have tried has lead to breakouts. So at this point I just apply my under eyes gel and lip balm and go to sleep.
khadi under eye geljust herbs lip balm

My lip balm is from just herbs  which means its completely natural. I used to use baby lips earlier but that dried my lips out so got most dependent on it and so on. It wasn't until I got this one in my fabbag that I tried a different one and realized how drying baby lips was for me. My under eye gel from Khadi has a cool bluish colour which is quite pretty. The gel itself is very calming on the skin and shows results as early as in the first week. It is suggested to be applied twice daily but I'm lazy.


So, this was my night time routine! Hope you got some tips from this. So as always, thanks for reading and lots of love! 😘😘😘

Wednesday, January 25

How to Make Quiche From Scratch plus Tips!

Hi guys!  So today I decided to share with you this easy quiche recipe from scratch! Yes, no store bought crust, or store bought quiche and still easy! Don't believe me? Read on! 

My younger sister loves the quiche I make, so after her asking me various times, I decided to finally make one for her! Also that meant I could take a break from all the chocolate related recipes I was doing on my blog like the shake and the brownies from theobrama!
So on Sunday, I woke up and went into the kitchen to create my dough. Now the dough needs to sit in the fridge for at least 3-4 hours but preferably overnight so it was the first thing I made. To make a quiche or pie crust, you basically require fat, flour and water. My choice of fat was butter, flour was all purpose flour and well water was water! (Pro tip: use ice water for best results, the colder the water, the better your dough) 

So I basically took cubes of butter and added it to my flour. I used salted butter but if you are using unsalted butter, do add some salt to the flour. The butter should be cold enough to hold its shape and not be melted but not absolutely frozen. While kneading the dough, we need to make it resemble breadcrumbs and not just bind it together. Once the breadcrumb texture is achieved, add the cold water, one tablespoon at a time and start binding the dough together. Try to add as little water as possible as the dough should be just bound enough with still some dry bits. This is essential as with time the butter will also add moisture and if we don't keep our dough dry it will become too wet and be essentially useless. Once your dough is ready, wrap in cling film and into the fridge.

After 3-4 hours or overnight take the dough out and start rolling it with a pin. Once rolled, fold it into half and roll again.(Pro tip: The more you fold and roll, the more flaky the crust will be)
Now as I said made the dough in the morning but then I got busy shooting for my haul post (do check it out too!) (yes I know this is blatant self promotion) (#noshame) so I got to rolling out the quiche only that night. As its winters these days (and really cold where I live, might I add) and the dough had been in the fridge for the entire day, it was a little difficult to roll at first. So I used my hands to initially warm the dough up a bit and then rolled it out using the rolling pin. While rolling out make sure you roll it enough to 
  • Fit the base of your pie plate
  •  Be enough to cover the sides as well
  • Still be some left hanging over the edges to account for any shrinkage


Once that was done, I put the crust into the oven to blind bake for about 10 minutes or till stiff. Blind baking involves putting a piece of butter paper over your pie crust and adding some grains or rice to act as weights to make sure the base of your crust doesn't rise. Another thing to do is use a fork to make holes in the base allowing air to escape and again preventing the rise. Once it was stiff I took out the butter paper and weight and let it bake for about another 10 minutes. (Pro tip: Take care that when you pick up your pie mould, it is not from the bottom as most of them have removable bases and when you hold from below, the base pops up and your rolled out pie dough is ruined)

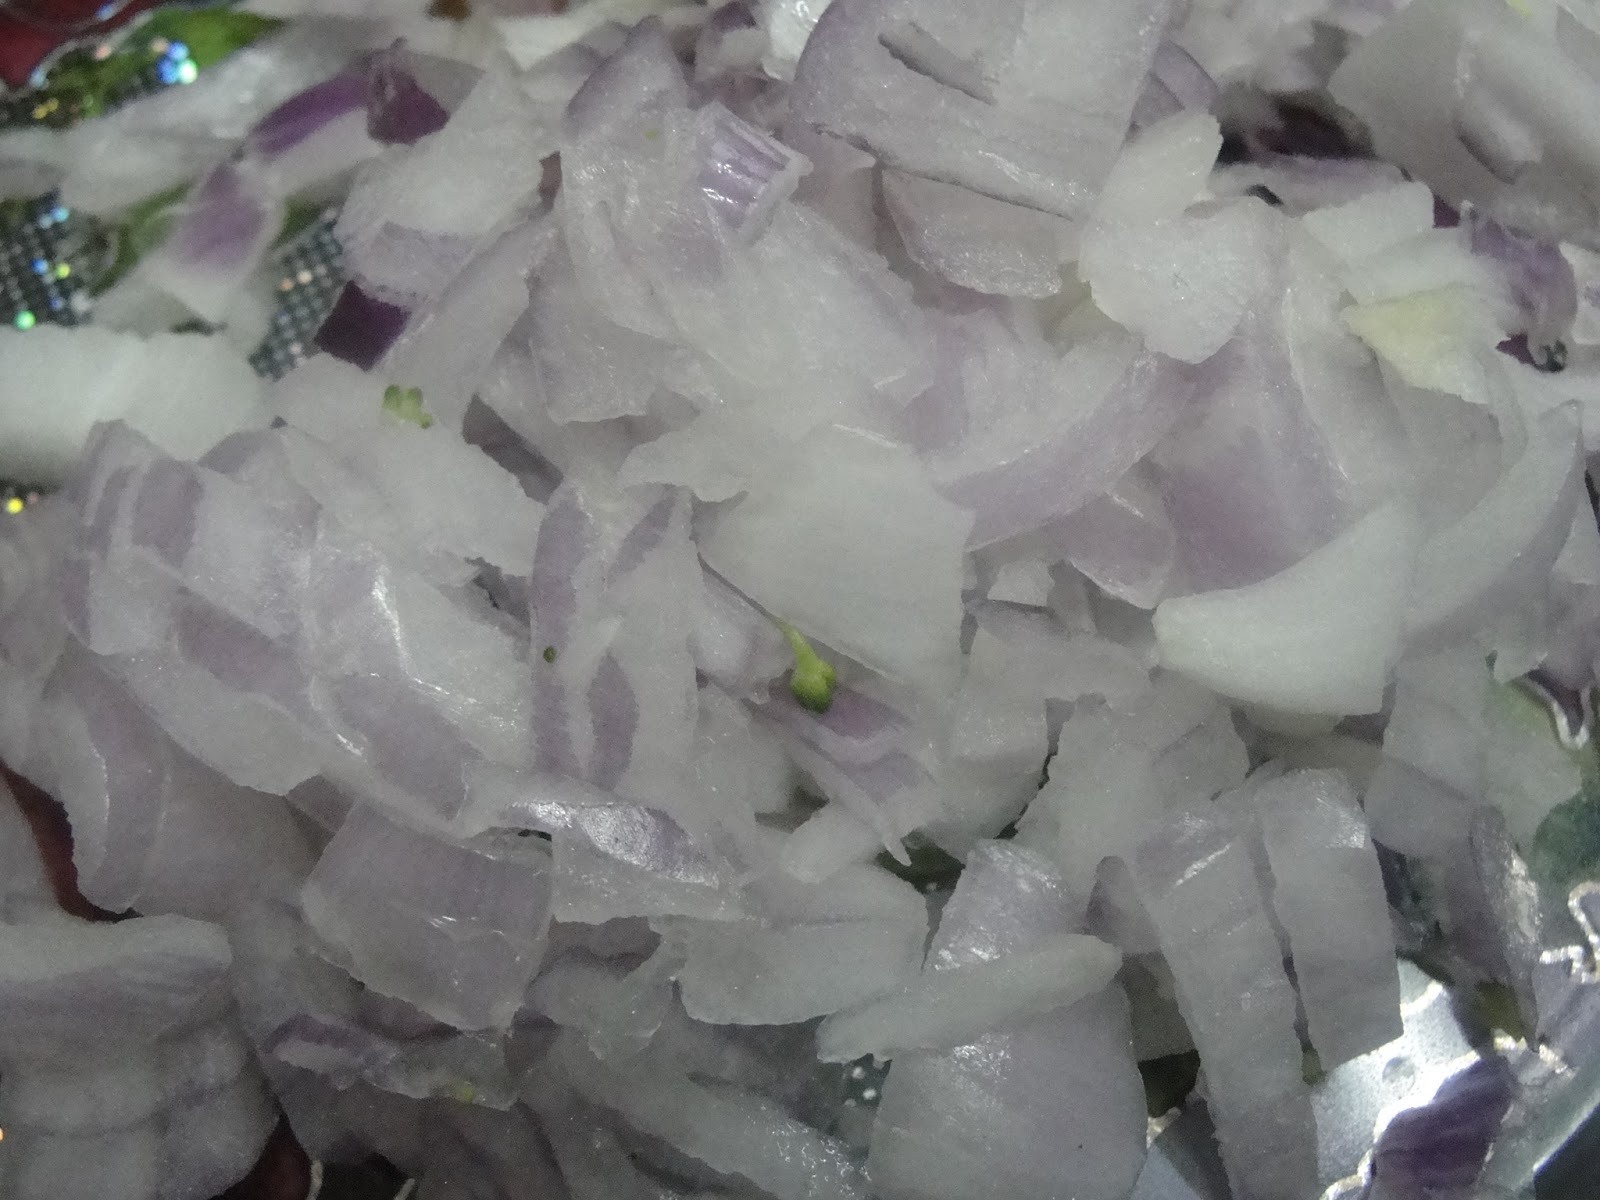
While the base baked I grated my cheese ( A mixture of Parmesan and mozzarella) and chopped up my veggies (I used broccoli, onions, green bell peppers, corn and mushrooms). Pro tip: The choice of cheese and vegetables and meat (I added none) is completely onto you.  Make your own combinations, use whatever is leftover, sky is the limit. Once chopped, I used about 2 cups of total vegetables and cooked them slightly in one tablespoon of heated olive oil. I only cooked them for about 4-5 minutes because I like my vegetables fresh and crisp and a little bit on the raw side plus they would be cooked again.

By this time, the crust was done so I just took it out of the oven to cool and made a mixture of beaten eggs, milk, salt, pepper, dried thyme and dried oregano.

Now once the crust was cool enough I added about a cup of cheese to the base topped with the vegetables, then the egg mixture and finally the rest of the cheese. If you have any fresh herbs on hand like oregano, rosemary or thyme add them on top with the cheese. Now the quiche is ready to go into the oven for 35-40 minutes to get baked. (Pro tip: Cook time might vary depending on size, filling and how pre-baked the crust is so keep a keen eye)
Once the sides and the cheese were browned and the base also crisp (check by inserting a fork) I took it out of the oven. Giving it about 10 minutes to cool slightly I used a knife to loosen the sides and then popped the base up and transferred the quiche to a plate. At this point, use can plate up beautifully using some cream, sauces and herbs or just slice up and serve.

A concise form of the recipe follows the pictures but do read the above for some tips and insights.


Recipe

Time taken (excluding the resting time taken by dough)

Prep- 40 minutes

Cook- 1 hour

Ingredients-

Crust:

  • 1 1/4 cup all purpose flour
  • 1/2 cup salted butter, cold and in cubes
  • 1/4 cup ice cold water

Filling:

  • 1 tablespoon olive oil
  • 1/2 cup broccoli 
  • 1/2 cup corn
  • 1/2 cup mushrooms
  • 1/4 cup onions
  • 1/4 cup green bell peppers
  • 3 eggs, beaten
  • 1/2 cup milk
  • 1/2 teaspoon salt
  • 1/2 teaspoon pepper
  • 2 teaspoon dried oregano
  • 1 teaspoon dried thyme
  • 1 1/2 cup grated cheese
  • Fresh herbs for garnish

Method-

  • Knead together the butter cubes and flour till they resemble breadcrumbs
  • Slowly add water by spoonfuls and Knead till the dough is formed
  • Wrap and in clingfilm and put in fridge for atleast 3-4 hours but preferably overnight 
  • Preheat oven to 200 degree Celsius
  • Once cooled, roll out the dough to fit a 9-inch pie mould
  • Put the rolled out dough in the mould and add butter paper and weight (such as rice or grains) to blind bake the crust for 8-10 minutes
  • Now remove the weight and paper and bake till firm (about 10 minutes)
  • Remove from oven to cool and reduce the oven temperature to 180 degree Celsius
  • Chop up all the vegetables and saute in olive oil 
  • Whisk together the eggs, milk, salt, pepper, thyme and oregano
  • Put one cup of cheese on the quiche crust
  • Top with salted vegetables and followed by the egg mixture 
  • Now add the remaining cheese and the herbs to garnish
  • Bake in preheated oven for 35-40 minutes or till the crust and cheese are golden brown 
  • Remove from oven and let cool for 10 minutes before removing from the mould
  • Slice and enjoy!